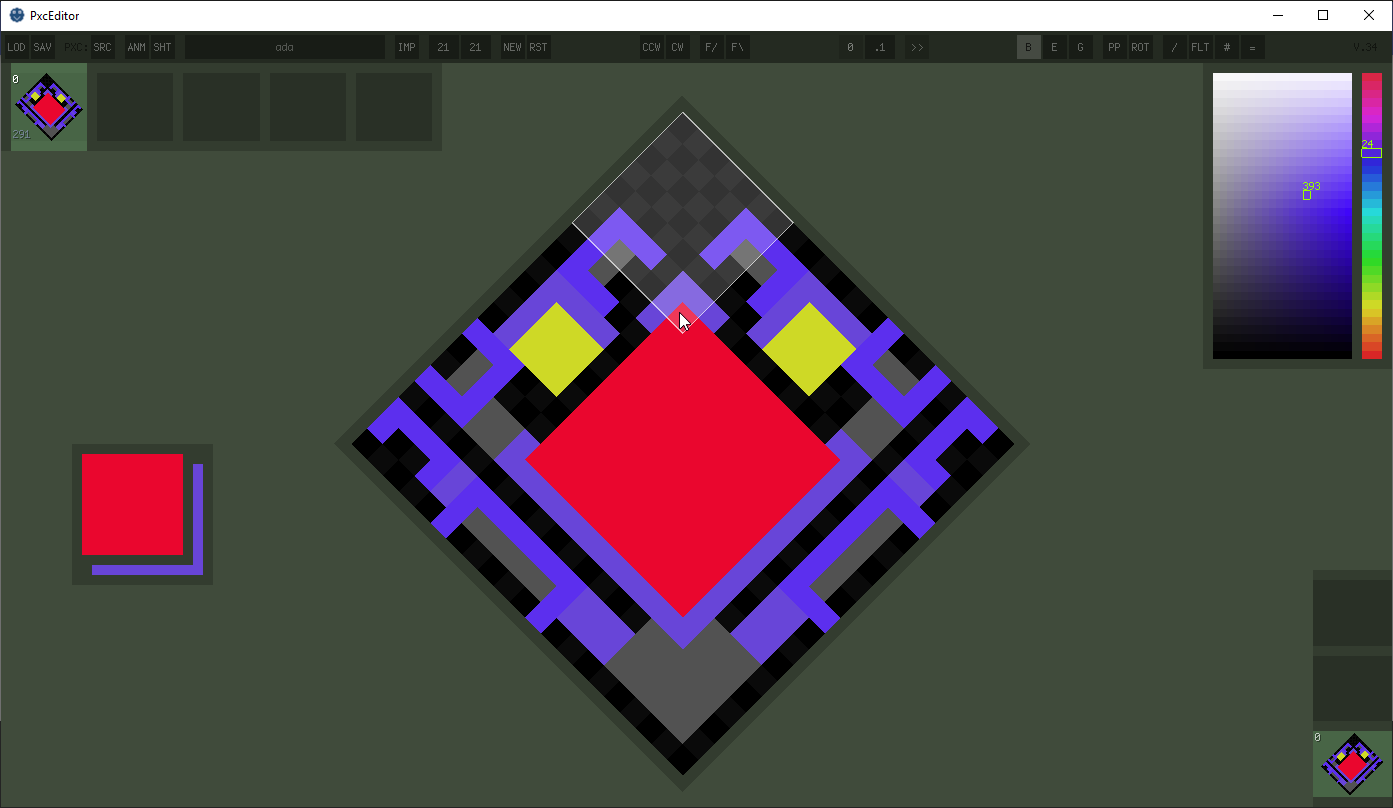
Pixel Editor
The PxcEditor is used to draw units, assign pixels, create animations, and export them to json files.
Brush
To select the brush: press B, click the B button in the toolbar, or eyedrop a colored pixel.
Use LMB to draw on the canvas.
Press P or click the PP button in the toolbar to toggle pixel perfect drawing.
Press X to swap swatch colors.
Eraser
To select the brush: press E, click the E button in the toolbar, or eyedrop a blank pixel.
Use LMB to erase pixels on the canvas.
Flood-Fill
To select flood-fill: press G, or click the G button in the toolbar.
Use LMB to fill an area on the canvas.
Quick flood-fill:
If you have the brush selected, Ctrl+RMB to fill an area.
If you have the eraser selected, Ctrl+RMB to erase an area.
Eyedropper
Use RMB on a colored pixel to select that color.
Use RMB on a blank pixel to select the eraser.
Use Scroll Wheel to adjust color brightness.
Shapes
While using the brush or eraser:
Hold Shift to draw a line.
Hold Shift+Alt+LMB to draw a rectangle.
Hold Shift+Alt+RMB to draw a filled rectangle.
Hold Shift+Alt+Ctrl+LMB to draw a circle.
Hold Shift+Alt+Ctrl+RMB to draw a filled circle.
Selection
Hold RMB and drag on the canvas to select a rectangle.
And/or hold Shift to add to current selection.
And/or hold Ctrl to select individual pixels.
And/or hold Alt to deselect selection rectangles.
Hold LMB on a selection rectangle and drag to move all selected pixels.
Press Del to clear all selected pixels.
Press Arrow Keys to nudge selected pixels.
Press C+RMB to select all pixels of the same color.
Press V+RMB to flood-select an area.
To select everything, use Ctrl+A To deselect everything, either use Ctrl+D or use RMB on the canvas without dragging.
Copy & Paste
Use Ctrl+C to copy current selection.
Use Ctrl+X to cut current selection.
Use Ctrl+V to paste. Pasted pixels can be dragged around before they become permanent.
Canvas Panel
Hold RMB on the edge and drag to move it around.
Hold RMB on one of the corners and drag to change the canvas dimensions.
Hover over the panel and use Alt+Scroll Wheel to resize it.
Click the ◩ button on the right side of the toolbar to switch between dark and light canvas backgrounds.
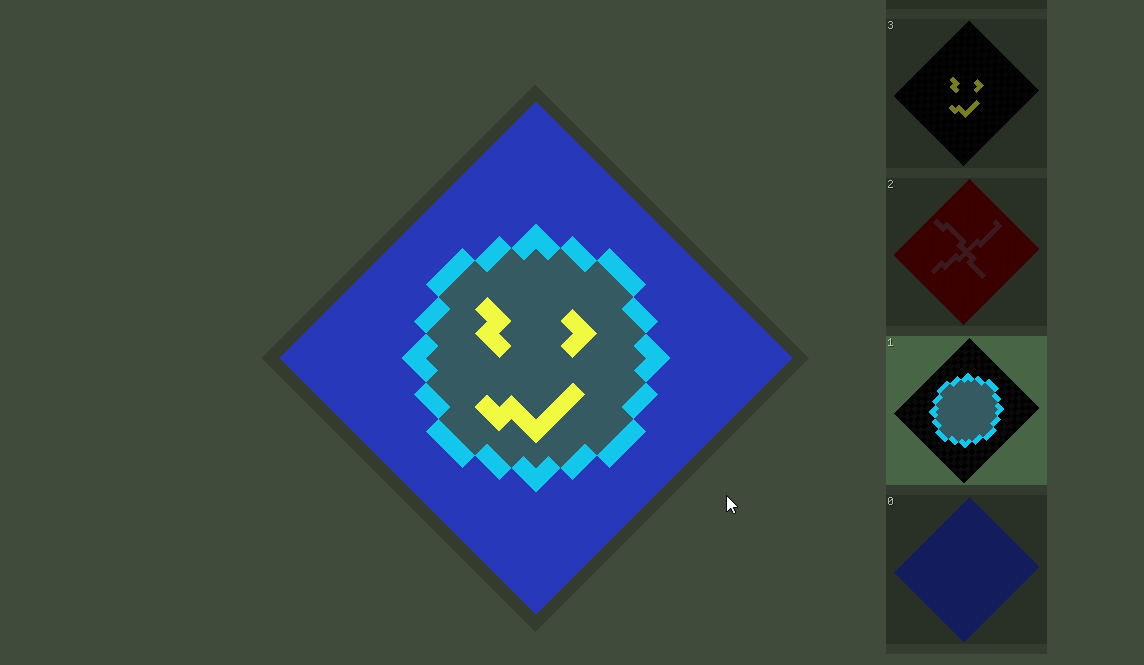
Layer Panel
Use layers for reference or testing different variants.
The unit you export must all be on a single layer.
Hold RMB on the panel to be able to move it around.
Hold RMB on one of the corners and drag to change the number of layers shown.
Hover over the panel and use Alt+Scroll Wheel to resize it.
Use LMB on a layer to select it.
Use RMB on a layer to toggle it on and off.
Use Ctrl+RMB on a layer to delete it.
Use W to select the next frame above.
Use S to select the next frame below.
Use Shift+W to create a new frame above.
Use Shift+S to create a new frame above.
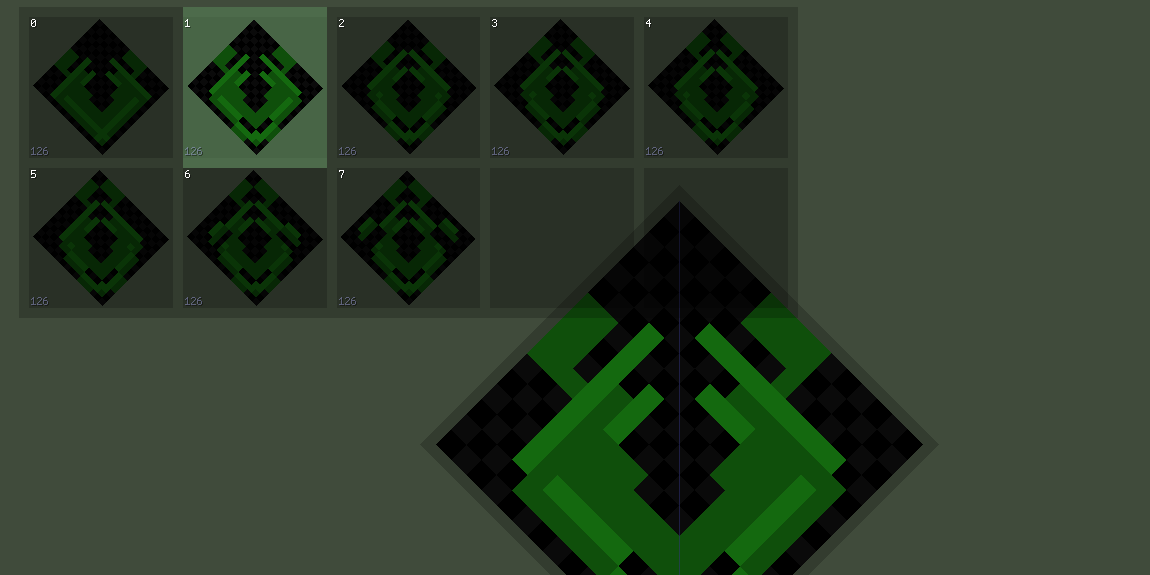
Frame Panel
Use frames to create pixel animations.
All pixels should be assigned before you start animating.
Hold RMB on the panel to be able to move it around.
Hold RMB on one of the corners and drag to change the number of frames shown.
Hover over the panel and use Alt+Scroll Wheel to resize it.
Use LMB on a frame to select it.
Use Ctrl+RMB on a frame to delete it.
Use A to select previous frame.
Use D to select next frame.
Use Shift+A to duplicate current frame back.
Use Shift+D to duplicate current frame forward.
Use Shift+Space to create a new blank frame.
Use Shift+Del or Shift+Backspace to delete current frame.
Use Ctrl+C (while no pixels selected) to copy current frame.
Use Ctrl+V to paste copied frame after selected frame.
Use Ctrl+Alt+RMB on a frame to export it to png file in editor directory.
Mirroring
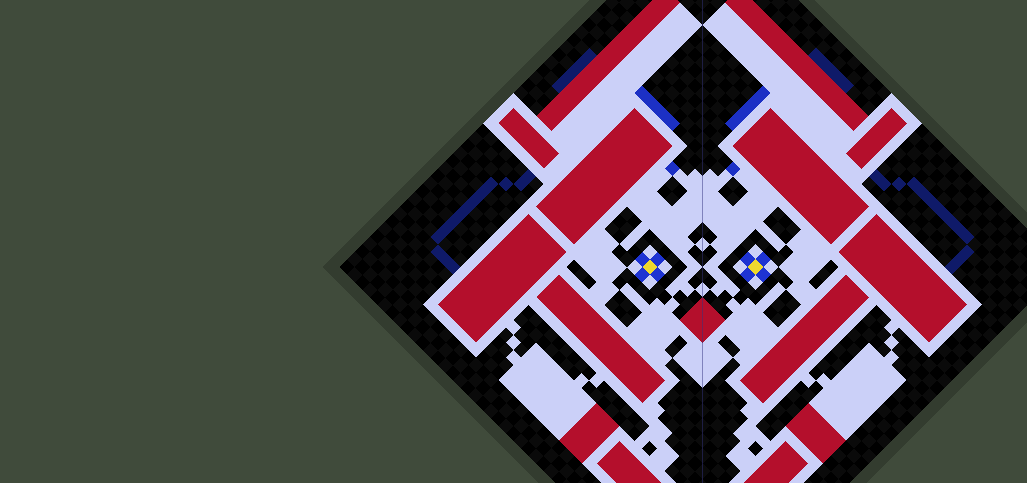
All actions taken on the canvas can be mirrored, which is very useful when drawing or animating a unit. The blue lines through the canvas indicate mirroring (red lines if rotational mirroring is turned on).
Use Space+A or Space+D to toggle horizontal mirroring.
Use Space+W or Space+S to toggle vertical mirroring.
Use Space+A+W or Space+W+D, etc to toggle diagonal mirroring.
Use Space+F to switch between mirroring modes.
Use Space+M to toggle all mirroring.
Use R to toggle rotational mirroring.
Use Shift+Left or Shift+Right to flip layer horizontally.
Use Shift+Up or Shift+Down to flip layer vertically.
Use the CCW and the CW buttons in the toolbar to rotate the canvas counter-clockwise and clockwise, respectively.
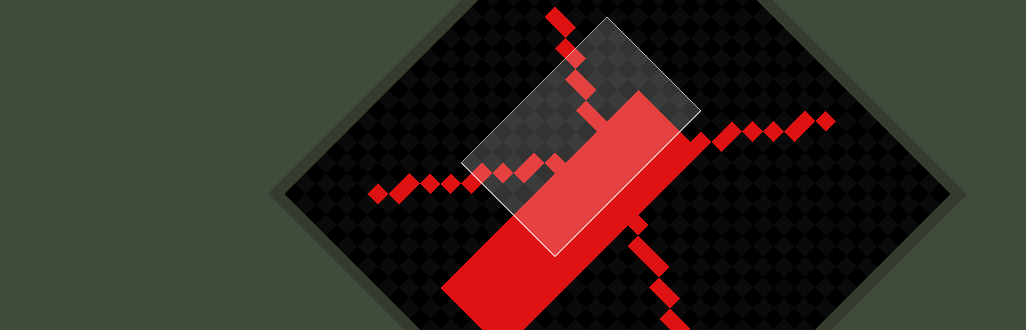
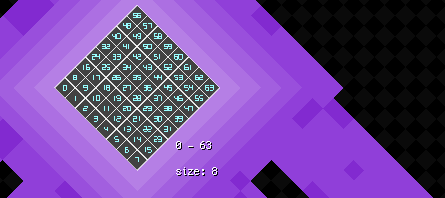
Assigning Pixels
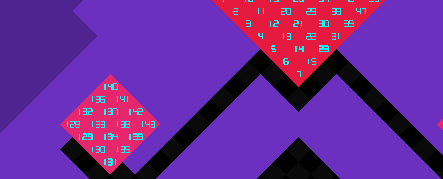
All pixels need a unique id number so that they can be tracked throughout their animations.
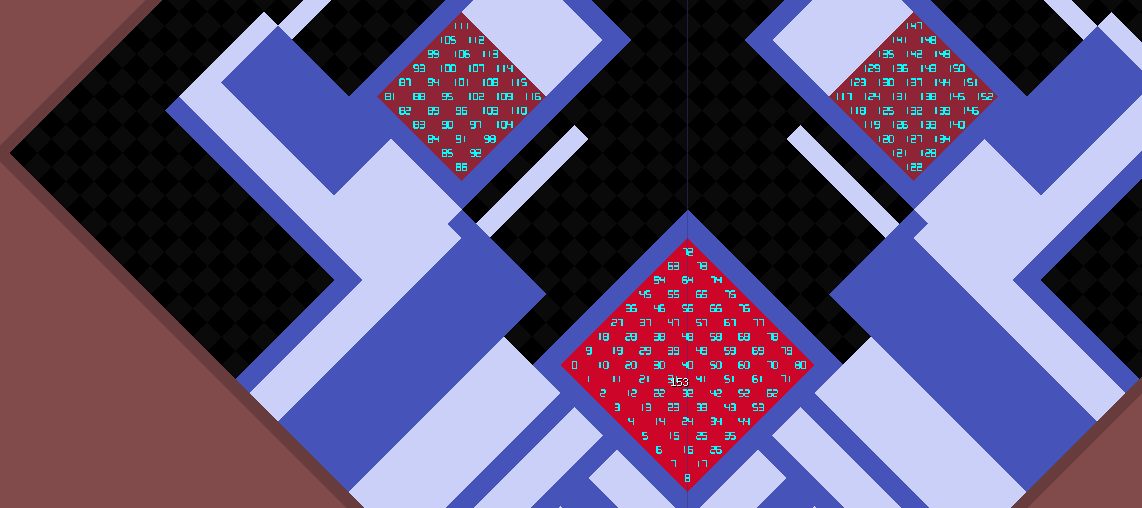
Press Tab to toggle pixel assignment mode.
While in this mode, the editor background color is red.
Use Ctrl+RMB with Brush tool to flood-assign hovered area.
Use Ctrl+RMB with Eraser tool to flood-unassign hovered area.
Use Ctrl+F to assign all selected un-assigned pixels on current frame (if none are selected, it assigns all unassigned pixels).
Use Del to delete all (or selected) assignments on current frame.
You can use LMB on a pixel to assign it (or un-assign it with the Eraser), but generally this is the best workflow:
1) Make sure the current frame has no assignments, and contains every pixel in the animation.
2) Use Ctrl+RMB on each part to flood-assign them.
3) Use C+RMB to highlight all pixels of a certain color (that you want to have special properties)
- then press Ctrl+F to assign them all
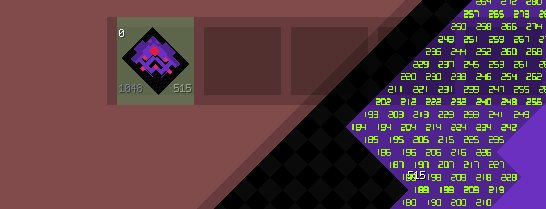
- deselect all pixels before assigning the next pixel type4) Make sure the numbers on the frame match - the left is the amount of pixels, the right is the amount of assigned pixels
5) If the rest of the unassigned pixels will have identical properties, use Ctrl+F (while nothing is selected) to assign them all.
Animation
Generally, you'll want to draw your unit, then assign the pixels, then proceed to animation.
Use Space to start/stop animation playback.
The animation section in the toolbar shows the frame number, followed by the frame's time, followed by the loop mode.
The frame time is a bit of a relic and you should probably adjust the animation's time in the unit script instead.
The loop mode can be set here or easily overridden in the unit script.
At this point, do not create any more pixels, as it'll be too complex to assign them correctly.
The easiest way to animate involves duplicating the current frame and moving around assigned pixels.
More specifically,
1) Set appropriate mirroring.
2) Select the pixels you want to move, and adjust their positions with mouse or arrow keys.
3) Press Shift+D to duplicate current frame.
Saving & Loading
Press the SAV button in the toolbar to save a json file of your animation.
Press the LOD button in the toolbar to open an animation json file.

Exporting
When exporting an animation to use in Chippy, there are two parts needed.
The source file is a list of all pixels the unit has.
The anim files are one or more sequences of source pixels.
Press the SRC button in the toolbar to save a source json file.
Press the ANM button in the toolbar to save an anim json file.
Other Features
Use Ctrl+Z to undo.
Use Ctrl+Shift+Z to redo.
In the center of the toolbar:

You can replace NAME with the name of your animation (pointless).
Press the IMP button to import a png (this clears and resizes the canvas).
Change the 32 32 to adjust canvas dimensions (or RMB and drag a canvas panel corner).
Press NEW to start a new blank animation.
Press RST to reset all panel size and positions (without changing current animation).
On the far right of the toolbar:

Press / to toggle diamond-shaped canvas.
Press FLT to flatten all layers.
Press # to toggle grid lines.
Press = or use Middle Mouse to toggle showing selected pixel ranges.
Ctrl+Shift+Backspace resets the animation and Ctrl+U resets the panel settings (these might be useful if the editor gets into a messed up state).