Getting Started
Custom Folder
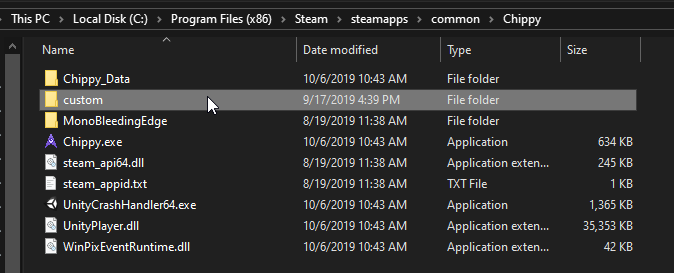
Chippy looks for local custom content in a folder named custom, which is in the Chippy Steam folder.
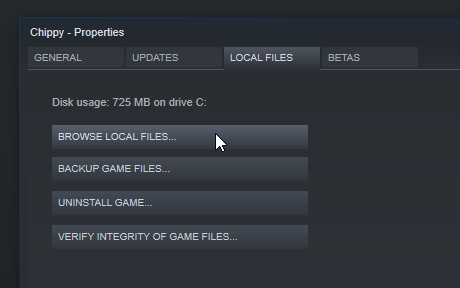
Right-click Chippy in your Steam library, select Properties, click the Local Files tab, and select Browse Local Files.
Now enter the custom folder.
There should already be an example plugin (example.zip) included.
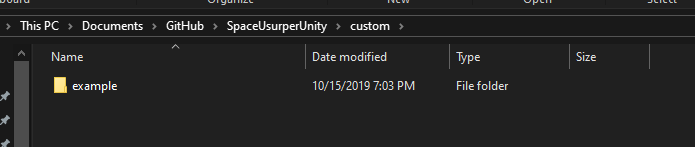
Create a copy of the example folder, and rename it to whatever you want.

Debug Branch
Back in Chippy's properties, click the Betas tab and select the debug branch.

While on the [debug] branch, the console will display any script errors encountered while running your stage, and debugText and debugVector properties will display. Also, you can press G to completely reload a stage, or hold H to show hitboxes.
Testing Custom Content
Run Chippy and select the Workshop tab.

On the bottom left, you should see a Local section, which displays campaigns in your custom folder.

Modifying Content
Now that you have a copy of the example campaign, you can mess with the values without worrying about screwing anything up - to start over, simply make a new copy of it.
Hotloading
Most of the values you can modify in Chippy scripts are hotloaded, meaning you don't need to restart the game to apply them. Simply edit the json file, save your changes, and view them in-game.
Some changes may require you to reset the stage (by holding R) to see them take effect.
And a few things will require a full-reload of the stage - accomplish this by pressing G while running on the [debug] branch.
Tip
Download a good free text editor such as VS Code.